Platform Style Bed
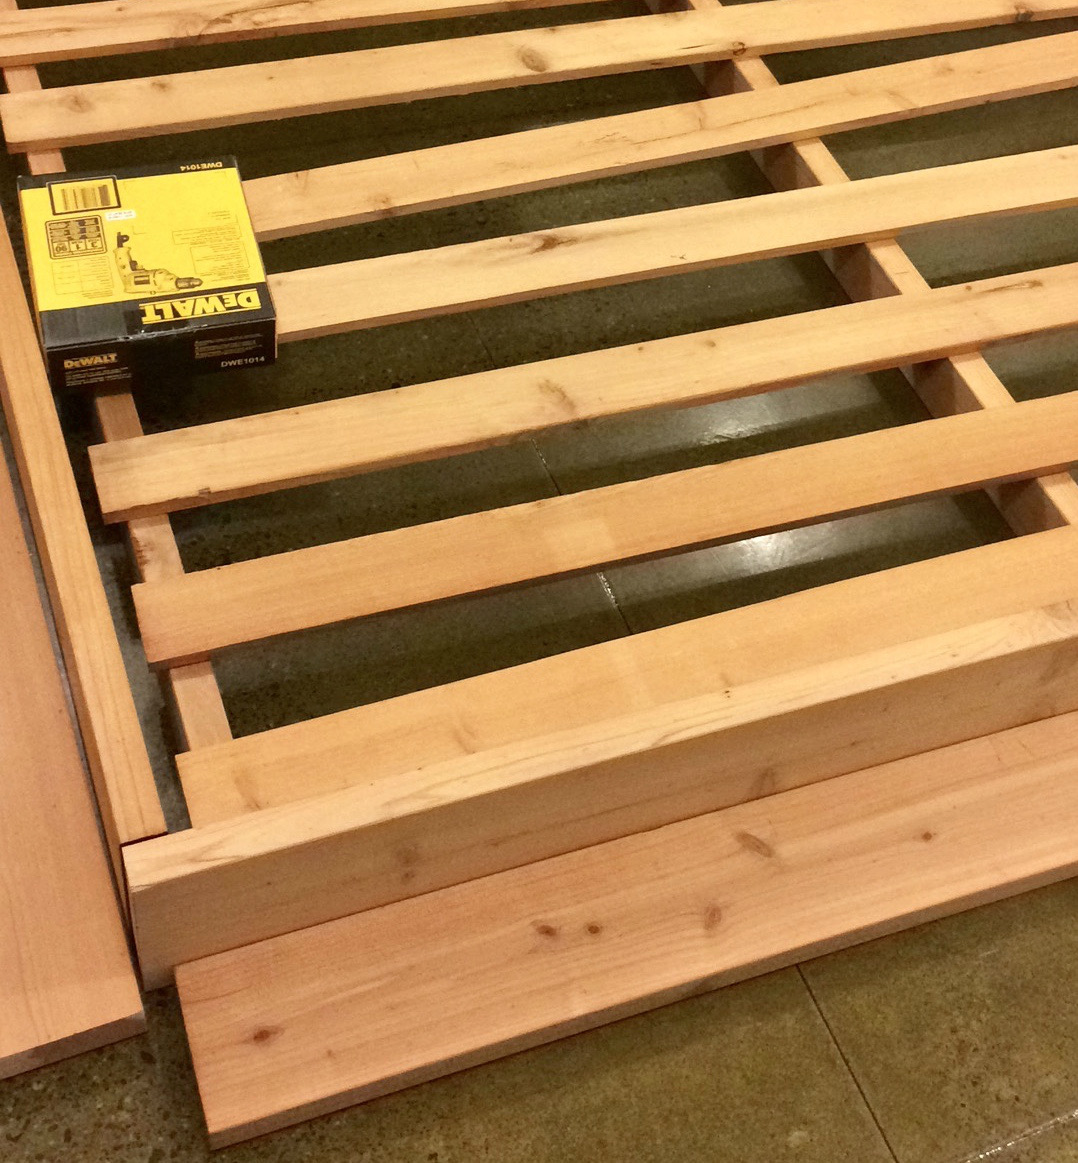
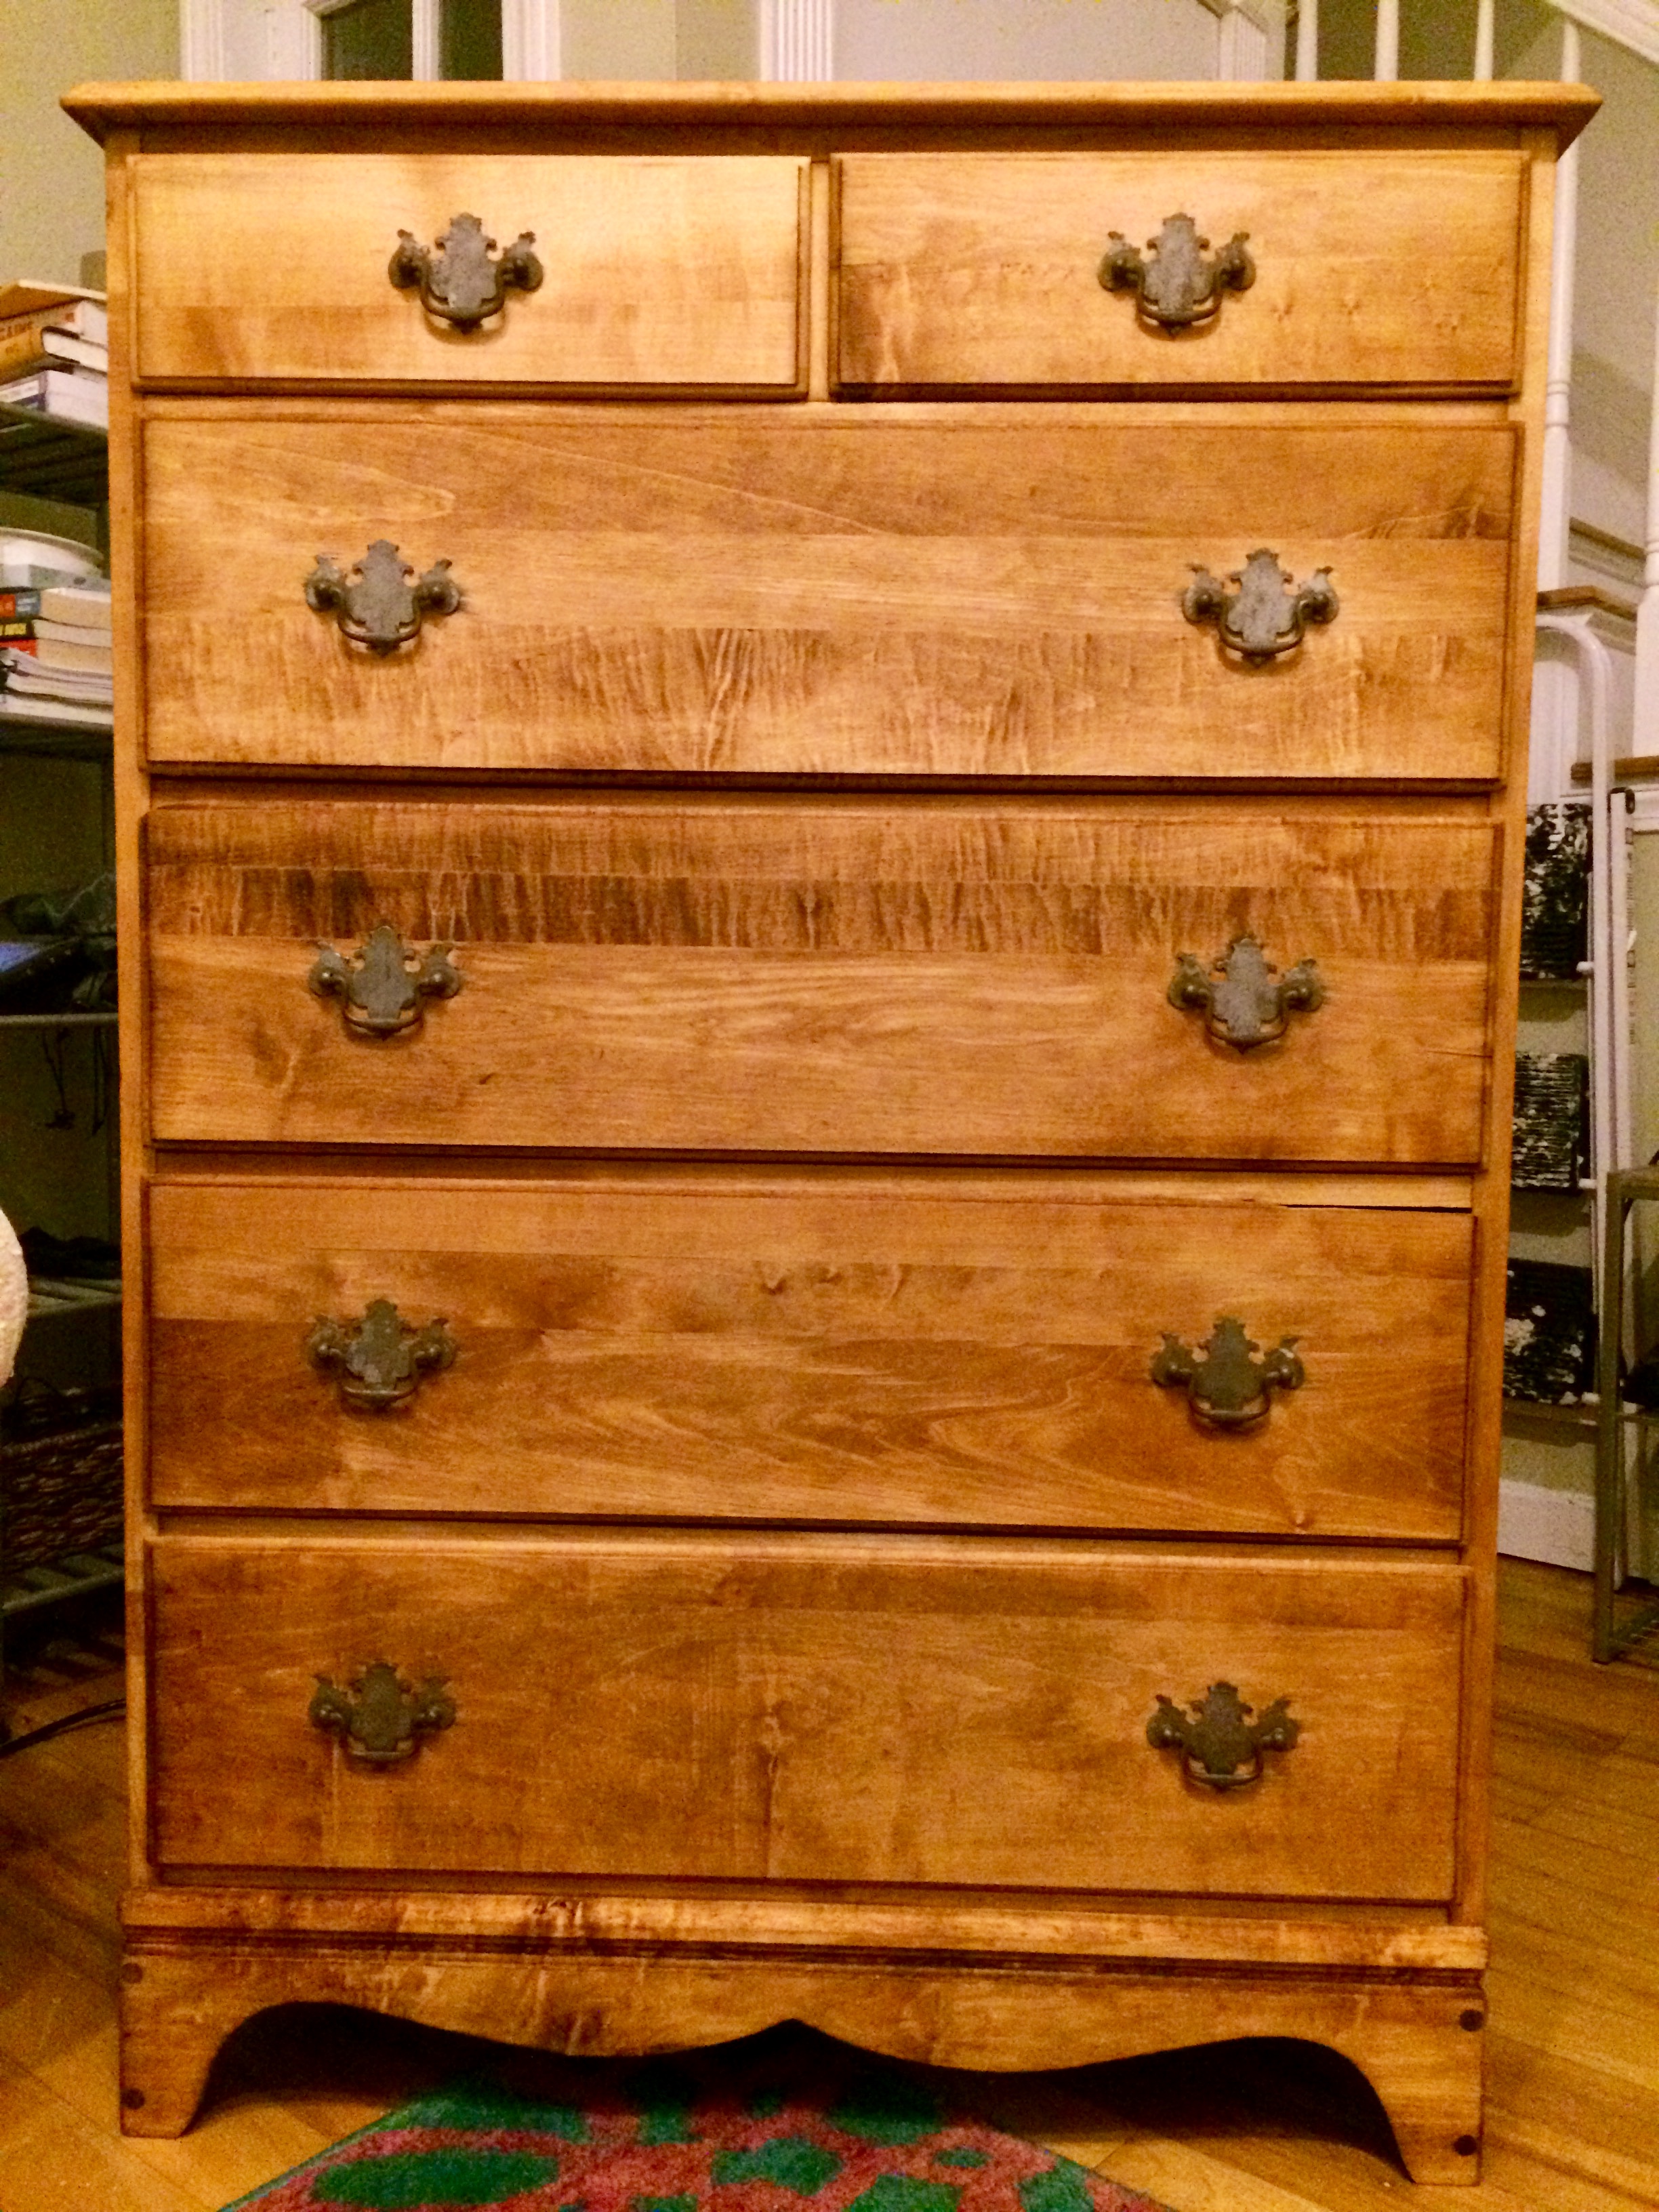
Graduation and a new job brought me to a new apartment in San Francisco. I gifted my old bed to a colleague as a graduate student care package with the intention of starting completely fresh. This last one was a queen-size platform bed I’d built out of pine and fir and I wanted to maintain the general aesthetic but upgrade to a king mattress with a stab at redwood. I modified the plans for a full platform bed here to fit a king-size bed, reduce mattress slippage and fit my personal preferences. The final product was even better than I’d imagined and incredibly comfortable, with the soft redwood providing some extra spring and sound dampening qualities.
Supplies
- Wood
- 2x8x8 (4)
- 2x6x8 (3)
- 2x4x8 (1)
- 2x2x8 (1)
- 2x4x8 (2)
- 1x4x8 (12)
- Hardware
- Pocket-hole jig (I used the Kregg 310)
- Box of 2 1/2’’ pocket-hole screws
- Tools
- Saw
- Drill
- Tape measure
- Hand square
- Paint brush
- Finish of choice
I selected the wood pieces from a local lumber yard, picking among the dry deck heart as I like the look of knots and filtering each piece of wood for aesthetic and warping. As I’d moved without a vehicle and the yard was 3 miles from my apartment, actually getting the wood would have been difficult, but it was inexpensive to have the yard ship it over as if I was a job site.


Assembly
The actual measurements would depend on the specific mattress, I trimmed each piece to the following after sizing my king:
- Width
- 2x8x8 (2) → 77”
- 2x6x8 (1) → 74”
- 2x2x8 (1) → 85”
- 1x4x8 (12) → 74”
- Length
- 2x8x8 (2) → 80”
- 2x6x8 (2) → 85 1/2”
- 2x4x8 (3) → 80”


The pocket-hole setup works by setting the stopper length on the jig for 2 inch boards (actually about 1 1/2 inches), clamping where desired and then pre-drilling discrete holes. I spread these at equal intervals of 7-10 inches across the width and length of the base pieces to fit into the top platform pieces. I also added 2-4 equally spaced pocket holes into each of the ends. The platform was then fit together first, upside down on the floor, followed by the base and the base finally screwed into the platform pieces.
The only real trick at this point was setting the 2x4 support beams to the correct height. I chose to fix them with a 1” inset, which resulted in a 1/4” inset of the 1x4” slats. This helped reduce slippage of the slats and any raised snags for the mattress that might be induced over time by warping. These were also fastened by pocket-hole screws, although 2 1/2” decking screws would be fine as well. The slats may be fixed to the support beams via pre-drilled holes and decking screws, but I preferred to leave them free.

The last touch would be to provide a finish. I plan to apply a kona stain that matches my apartment aesthetic, but will be waiting for travel over the holidays so as to avoid sleeping across from a room emanating VOC’s.


