
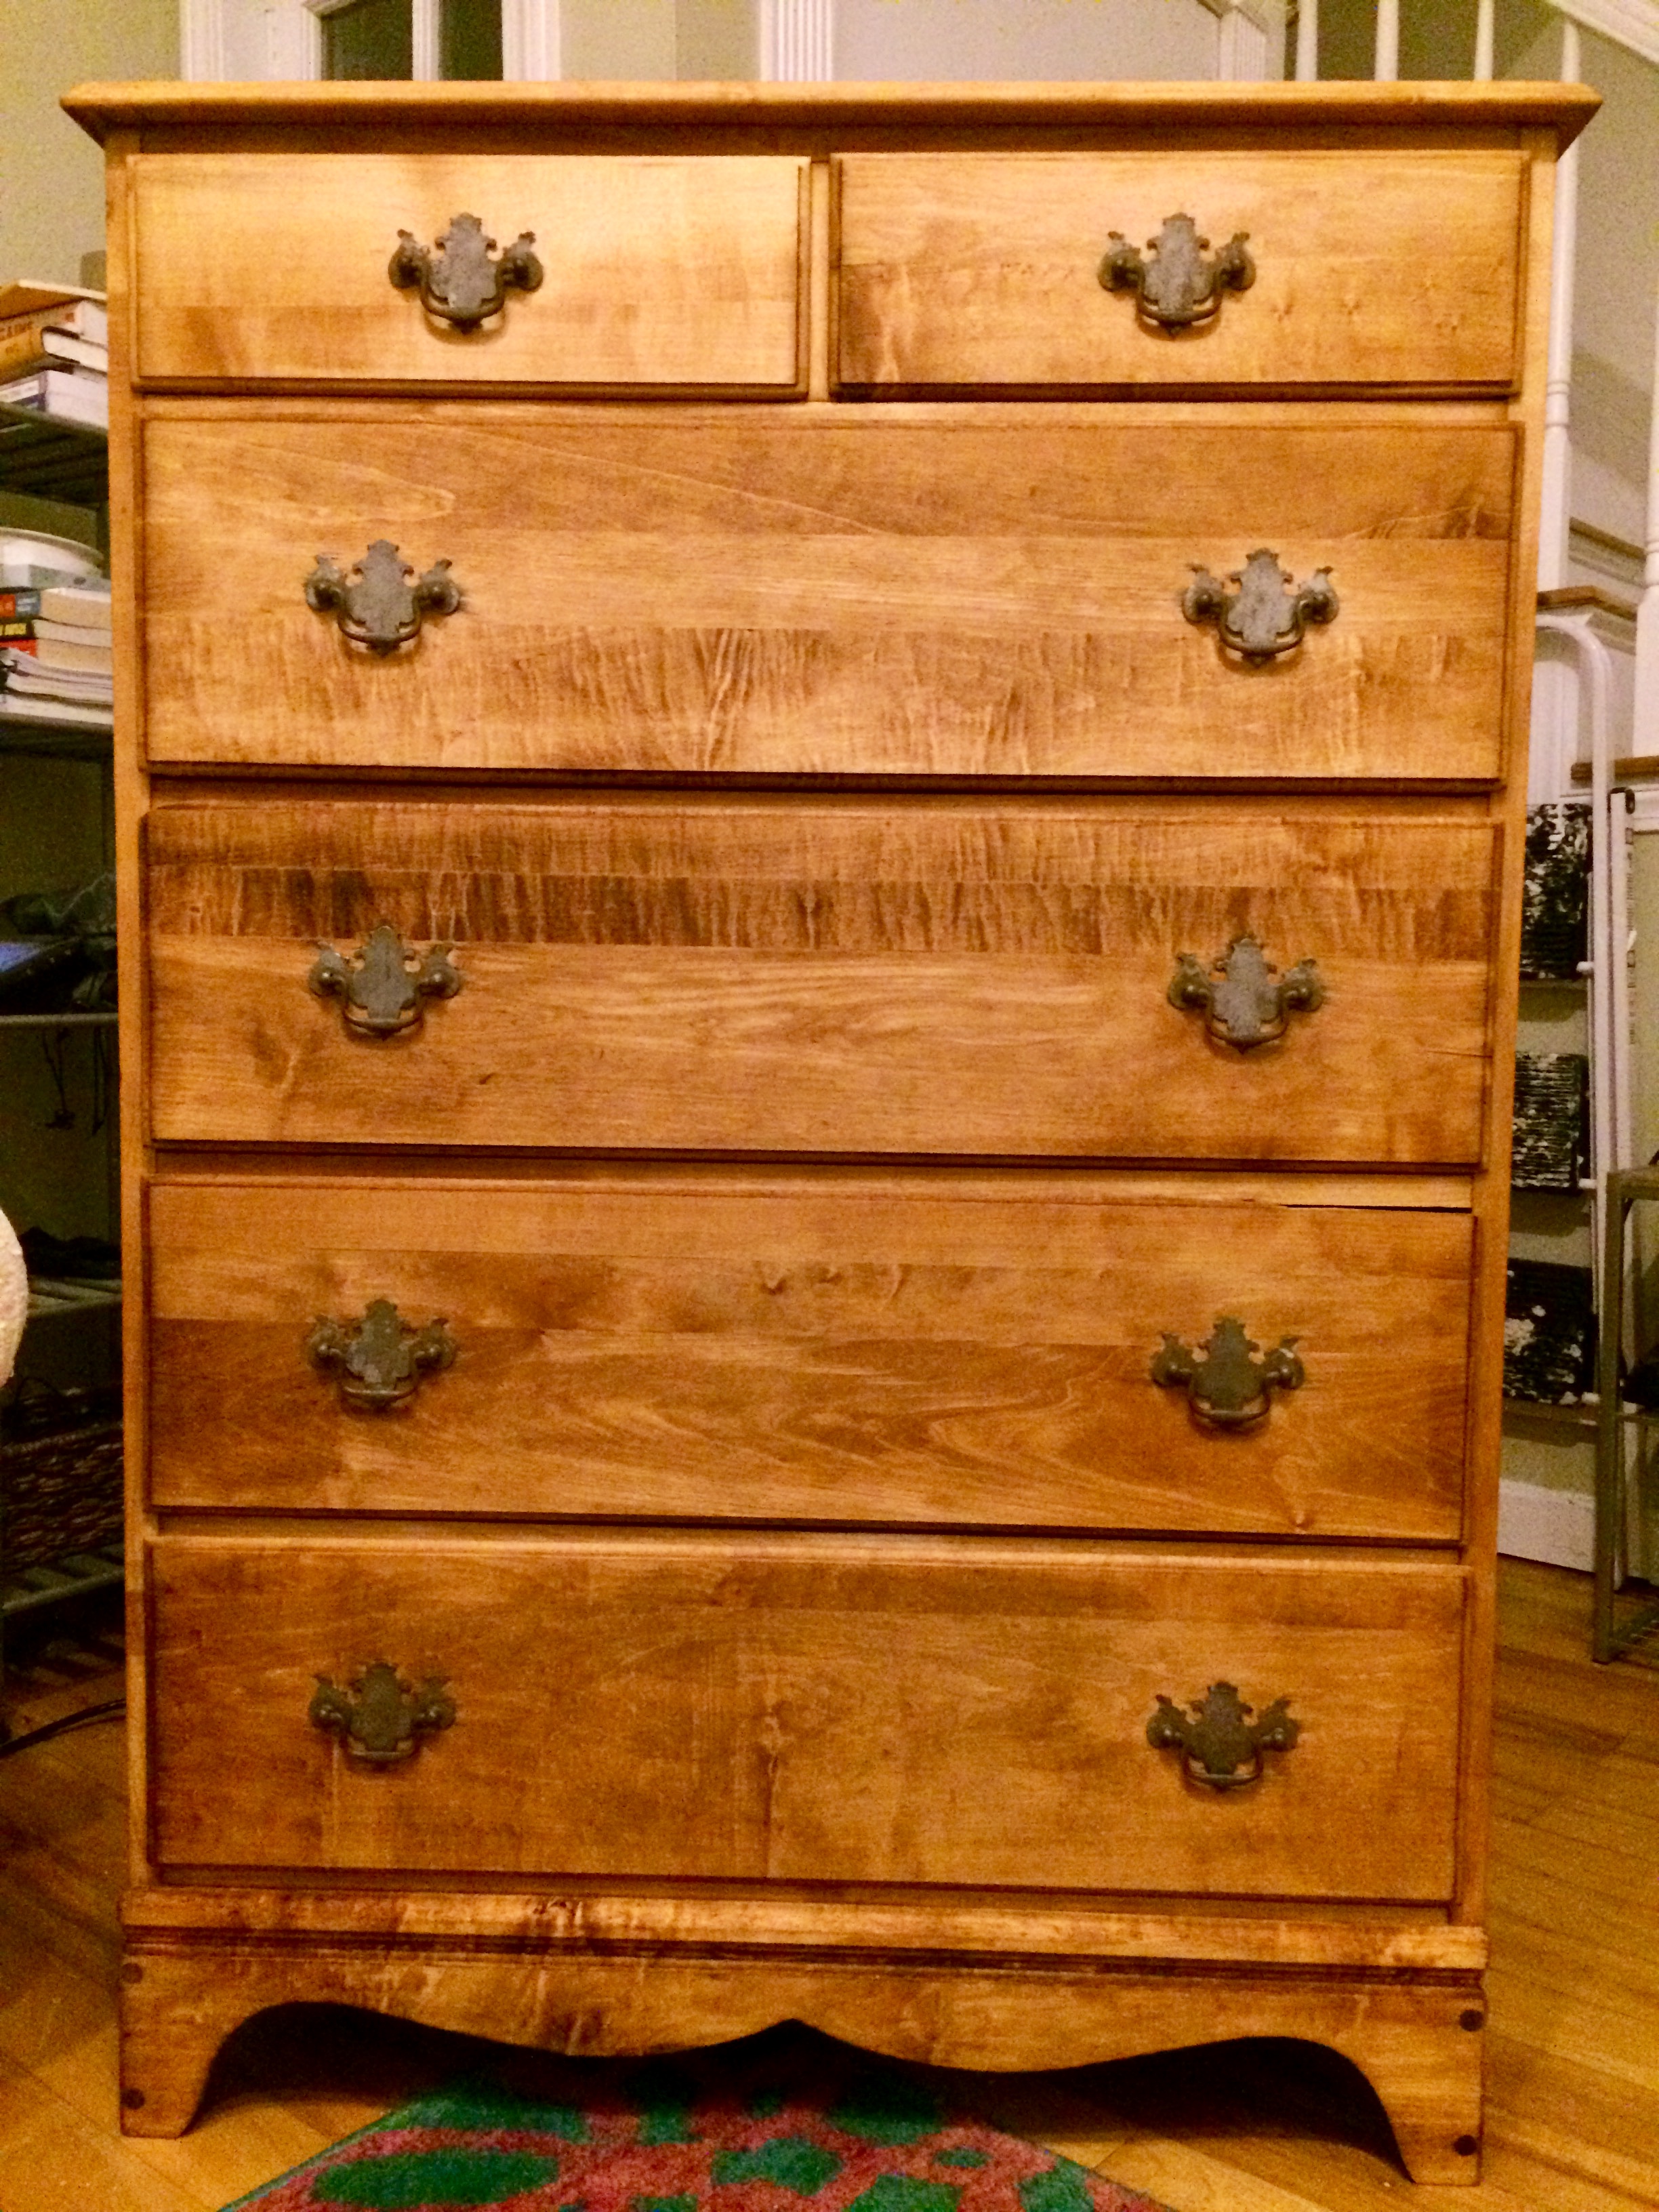
Wooden Dresser Renovation
My landlord has a soft spot for bargains and old furniture. He also apparently has a soft spot for me because I talked him into giving me the ugly painted-green dresser in the back of his truck a couple weeks ago for free. That, or he just didn’t want to lug such an ugly piece all the way from Boston to Durham. But his burden was my new project, and it turned out to be a far sweeter deal than I’d thought.
Supplies
- Paint and varnish remover (avoided those with methylene chloride)
- Paint brush
- Scraping blade or putty knife
- Clean cloths
- Hammer
- Finishing nails
- Sandpaper ranging from grit size 120 to 240
- Naval jelly or other rust remover
- Toothbrush or other small brush
The first step was to remove the ugly paint job. I slathered the dresser in the paint and varnish remover with a paint brush, and waited about an hour for the color to change before scraping each layer off in long strokes. This gets messy and I recommend keeping a cardboard box nearby to dispose of the scraps as you go — you do not want to leave them lying around when you’re done. It may take a few applications and a different wait time, depending on the weather (I was under a hot sun at 2 pm) and how much paint/many types of paint or varnish have been used on the piece previously.


After washing the dresser down with soap and water to remove any residue, it was time to sand the piece down and see what sort of wood quality we were dealing with. You can use whatever grit size you want, starting low and moving higher until you’re happy with the result. I used an orbital sander for flat surfaces, with 180-240 grit size, but just the paper itself for any tighter spots and crevices with 120-150 grit size. This discrepancy was mostly because I was lazy and didn’t bother moving up to 240 by hand, but it also resulted in an appealing color contrast after staining (the difference in feel post-touch isn’t noticeable).
With only the wood left, the quality was clearly decent (much, much better than I’d hoped for) and I chose to apply a light natural finish with Danish oil. Other options include lacquer, shellac and varnish, but I particularly liked the idea of Danish oil for its penetration and lack of film, which would bring out the grain. However, this is not a great option if the furniture is likely to be exposed to liquids often. I didn’t plan on dumping many liquids on a clothes dresser so this was fine.
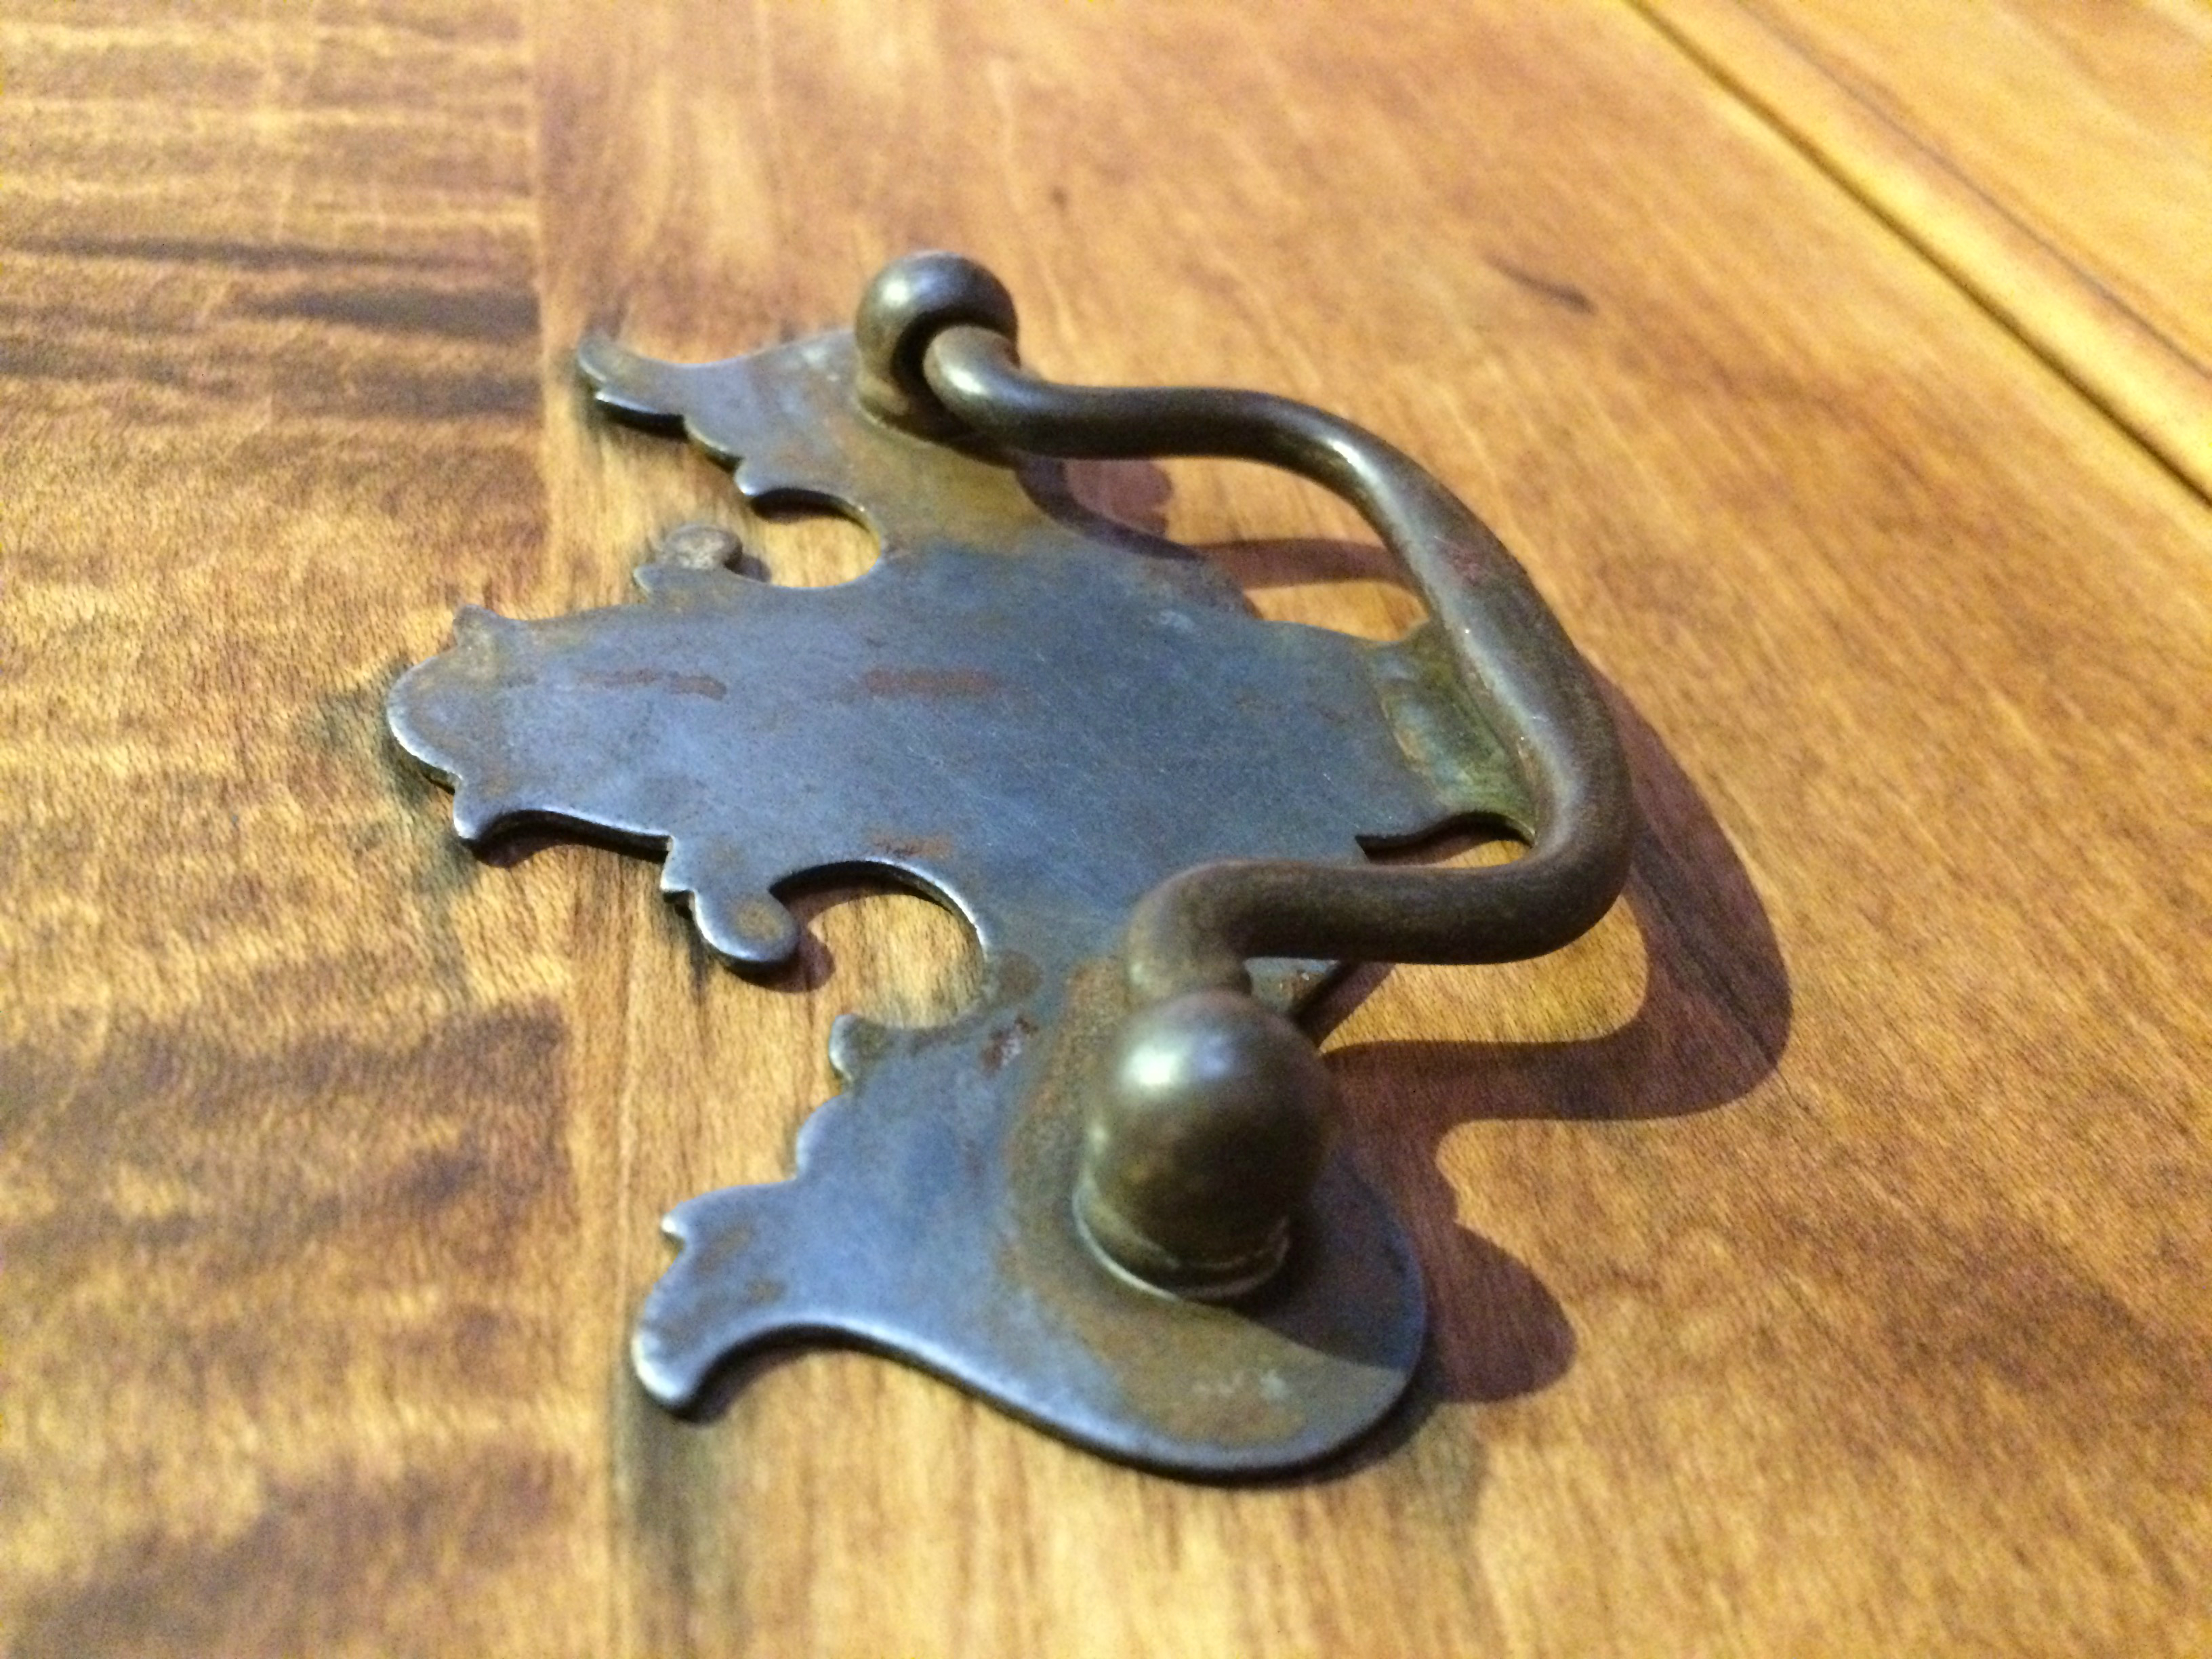

The last few things to take care of were the rusty metal fixtures, squeaky wooden runners and a few errant nails. The nails were easily replaced with a some 1 inch finishing nails left over from a previous project, and the metal fixtures only took a few minutes with some naval jelly, a toothbrush, and a wash in the sink. I didn’t clean them any further, as I liked the slight rustic look alongside the natural wooden finish. A little bit of furniture wax took care of the runners, wiping on with a rag and brushing off the excess, but the product is highly toxic and should be used very carefully. In fact, I plan on looking into the potential for jojoba oil if I do something like this again.
Finally, I cleaned the entire inside of the piece with a clean cloth and some vinegar water. All told, this entire endeavor took several hours and could easily be completed in a weekend. The end result was especially satisfying for a free piece and I’m looking forward to similar projects in the future.
Note: some of the tools and products mentioned here are hazardous. A mask and glasses can protect the eyes and lungs from sawdust and other particles. Paint and varnish remover, furniture wax and naval jelly are all extremely toxic and should be used in well-ventilated areas, according to their labels, and disposed of properly.